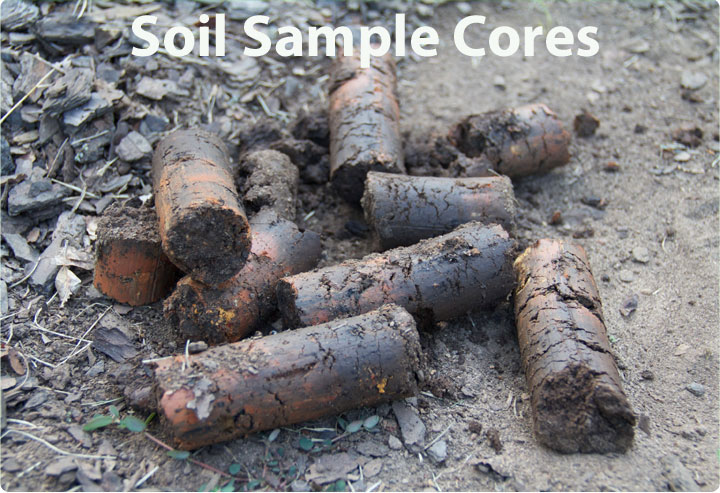
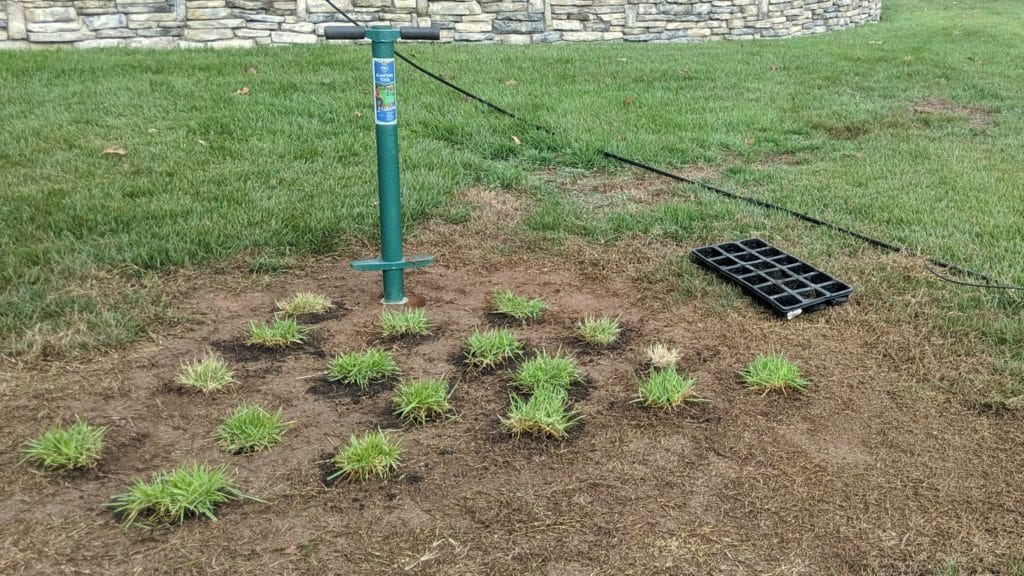
Introduction: Use the ProPlugger as a soil sampler probe to collect soil samples for testing. You can take 2″ and 4″ samples for lawn grasses, and 6″ samples for gardens, planting areas, etc.
Watch the video or read the directions below
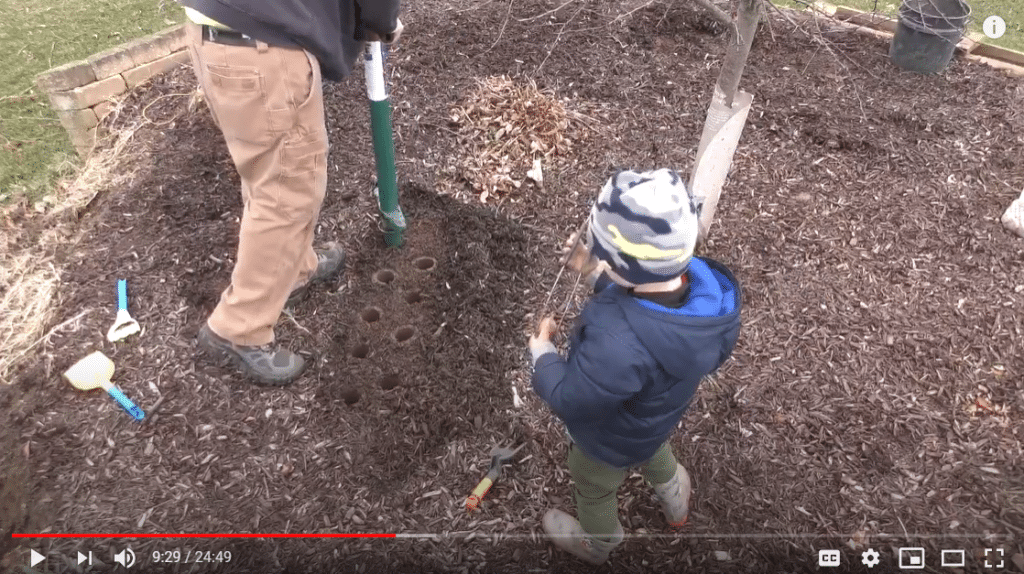
Step 1: Collect multiple plugs for each soil sample
Pull soil sample plugs throughout the area being testing, in order to get a good representative sample.
- Use different depth rings for different growing areas.
- Use either the 2″ or 4″ depth ring for lawns.
- 2″ for new lawns with shallow roots.
- 4″ for established lawns with deeper root systems.
- Use either the 2″ or 4″ depth ring for lawns.
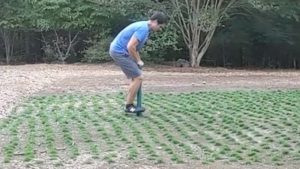
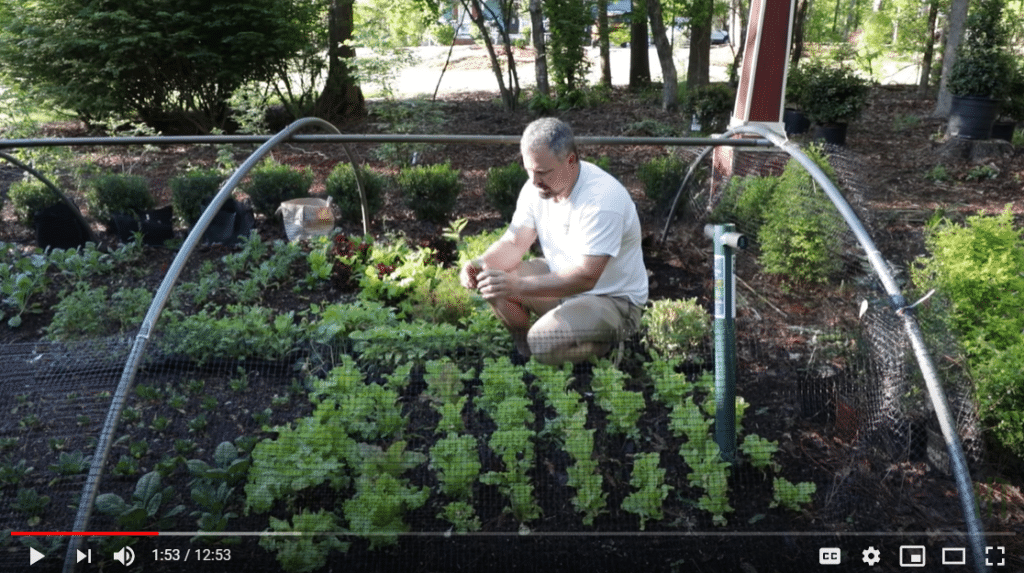
- With no depth ring on the ProPlugger, you can go down a full 6″ for gardens, planting areas, trees, etc. (deeper roots)
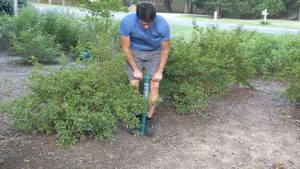
- Remove the depth rings, and allow the ProPlugger to go all the way down until the foot pegs bottom out against the soil.
- If the soil is hard and difficult to plug, water it a day before pulling sample plugs to soften it up.
Step 2: Empty soil sample plugs into a clean container.
- Remove roots sticks and other debris.
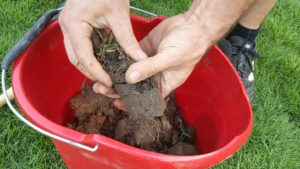
Mix the soil
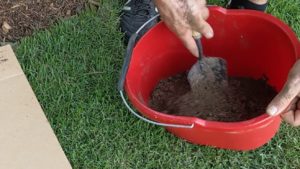
Step 3: Allow the soil to dry if it’s wet and clumpy.
Spread the sample soil out on a clean piece of cardboard.
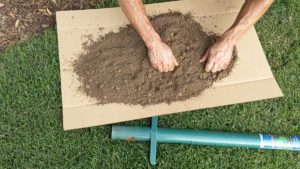
- Let the soil air dry until it’s a little crumbly, but not bone dry.
- More information on collecting optimal soil samples can be found here
Step 4: Send the soil sample off to your state’s agricultural office
Find your state’s agricultural office and obtain their testing kit.
- Fill up the container to the indicated level.
- Fill out the information sheet on the area(s) being tested.
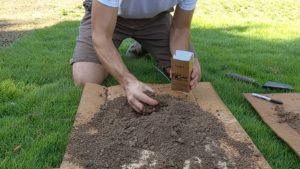
- Testing by your local agricultural extension office is typically very inexpensive and results are accurate.
- You can also buy your own soil testing kits, but the quality varies somewhat.
Step 5: Interpreting results
Your state should have information on how to interpret results.
- Sample results can be found on this link .
Check out other uses for the ProPlugger including:

