Directions:
Step 1: Dig the planting holes
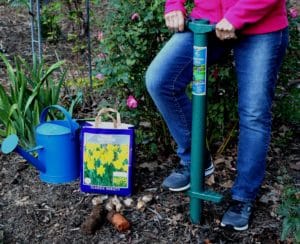
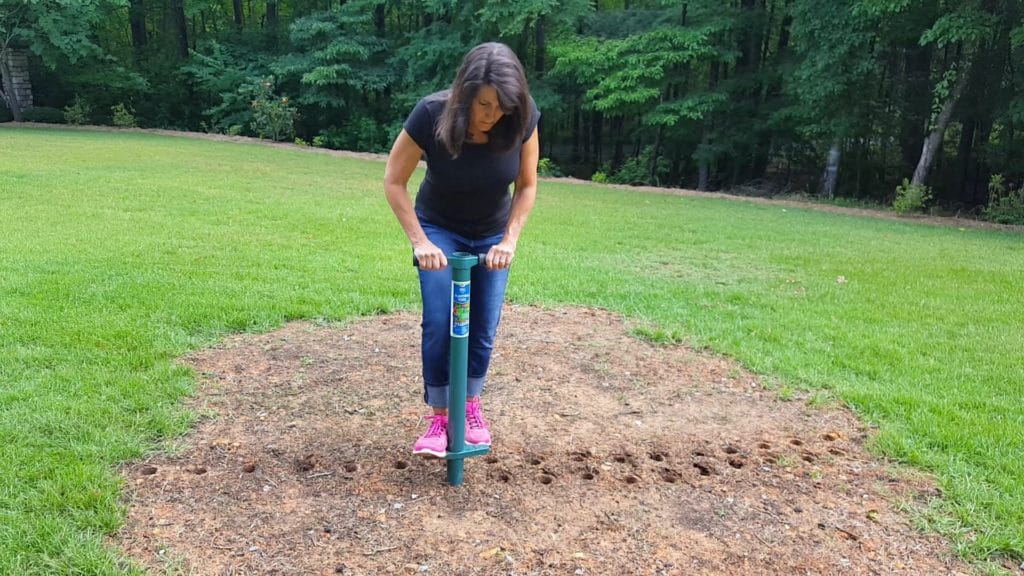
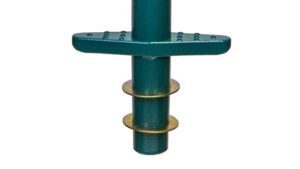
- Use the depth rings to dig 2″, 4″, or 6″ deep planting holes as needed for the variety of bulb you’re planting.
- Consult the planting instructions included with your bulbs for the recommended planting depth
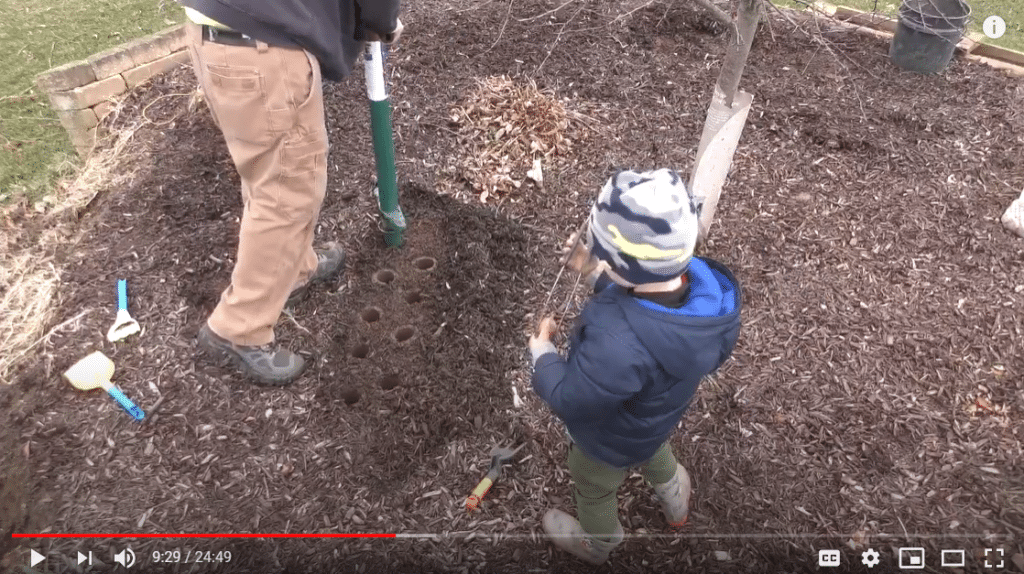
- For larger bulbs, dig a few holes side by side to make the planting hole larger (see image below):
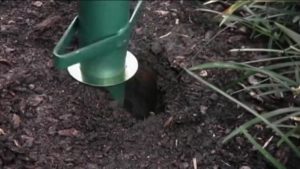
- Dig all your planting holes, one after another as the soil stacks up in the tube
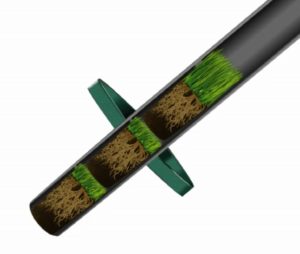
- Empty the soil from the ProPlugger by turning it upside down.
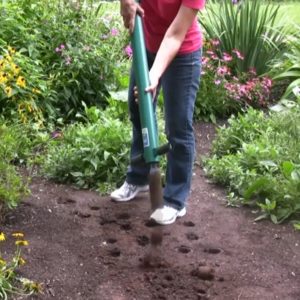
- If your soil is hard-packed, try watering the area before plugging.
- Moist soil is much easier to plug than dry soil, particularly if your soil has a heavy clay content.
- Take care not to over water.
- If soil gets too saturated, the plugger may clog up, or plugs may have difficulty coming cleanly out of the ground.
- Here is a link on how to deal with clogs while using the ProPlugger.
- Moist soil is much easier to plug than dry soil, particularly if your soil has a heavy clay content.
Step 2: Plant and water your bulbs

- Sprinkle in the recommended amount of bone meal or bulb fertilizer in the holes you’ve created, followed by a little soil so that the bulb does not come into direct contact with the fertilizer.
- Drop the bulbs into the hole, pointed tip facing upward.
- Fill in the holes halfway with soil.
- Thoroughly soak the area with water.
- Fill in the remaining soil, and water again.
- Add mulch over the planting area to hold moisture, regulate temperature, and reduce weed growth.
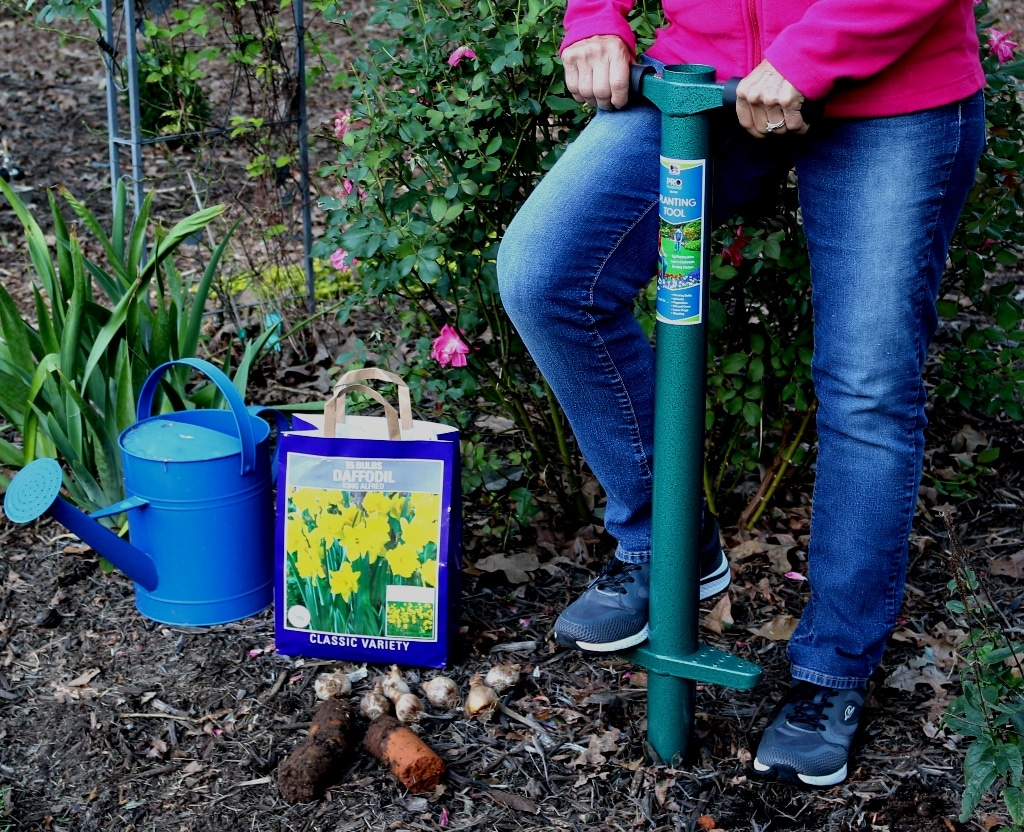
You can also use the ProPlugger to help you plant bulbs from a standing position.
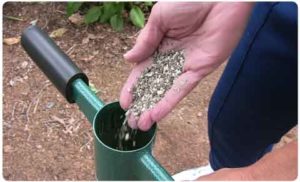
Set the ProPlugger over the planting hole, and drop in fertilizer, soil, and bulbs in through the top of the tool.
Visit this link for more information on planting bulbs.
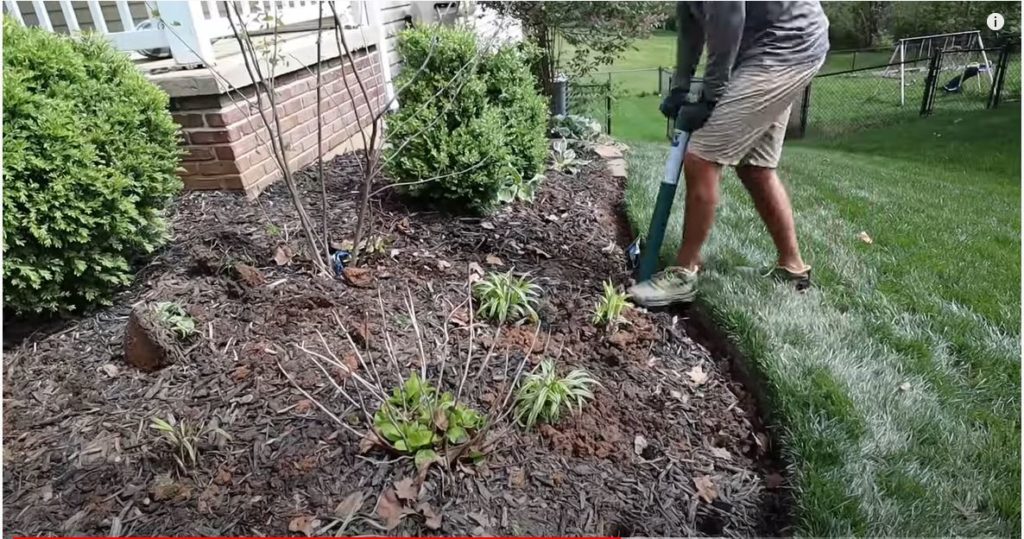
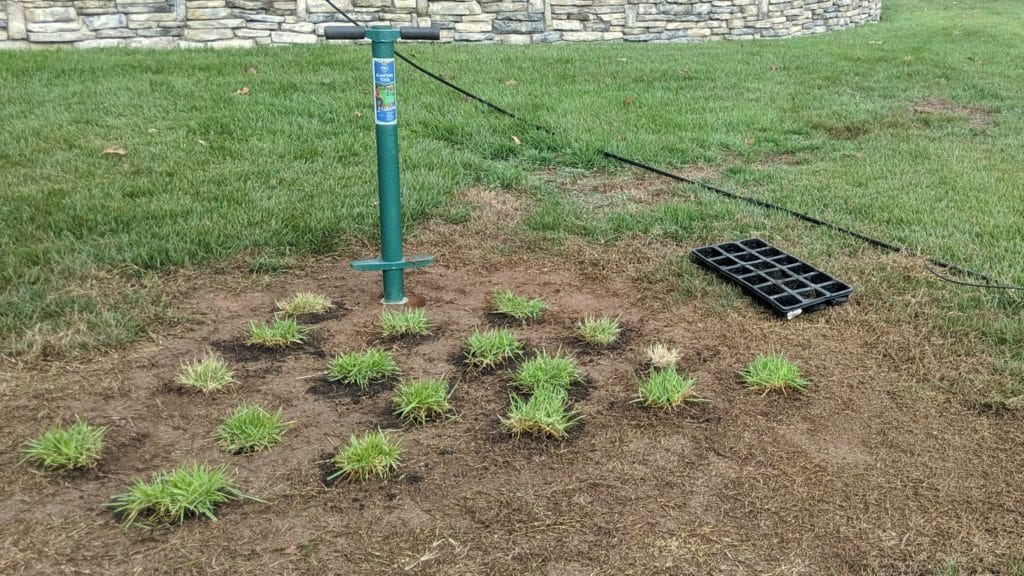
Check out our website for more information, including other uses for the ProPlugger including:

