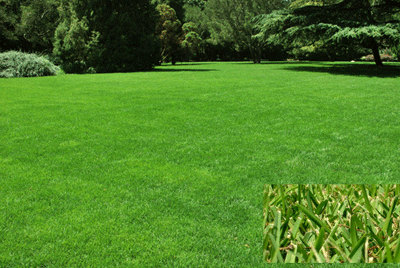
- Planting grass plugs from trays purchased online is a great option for filling in small or medium sized areas with spreading grasses such as Zoysia, Bermuda, and Centipede
- For larger areas it’s probably worth it to source your plugs from sod
- Sourcing plugs from sod is much less expensive than trays, but isn’t as convenient
Watch the video or follow the directions below
Step 1: Prepare the planting area by killing the grass or weeds
Chemicals
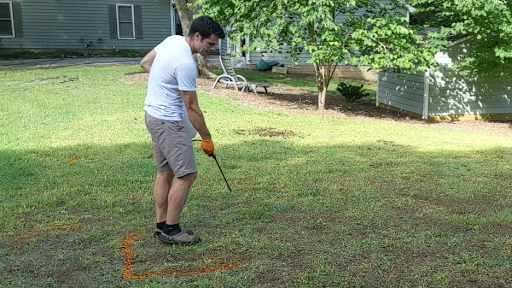
- Glyphosphate
- The old brand name is Round-Up, but there are many formulations
- I use Hi-Yield Killzall
- Follow the directions on the label for mixing and spraying
- Spray it, wait a week, spray it again, wait a week, and it’s ready for plugging
- The old brand name is Round-Up, but there are many formulations
Tilling
- This will get rid of your existing grass without the need for chemicals
Solarizing
- Solarizing involves tilling, watering, and then covering an area with clear plastic during the summer for at least 4 weeks. This is a more involved process but comes with the benefit of killing seeds in the ground, which the other methods don’t do
Step 2: Water the planting area the night before plugging
- Moist soil is much easier to plug than dry soil, particularly if your soil has a heavy clay content
- Don’t over water
- If soil gets too muddy the plugger may clog up, or plugs may have difficulty coming out of the ground
- Here is a link on how to deal with clogs while using the ProPlugger
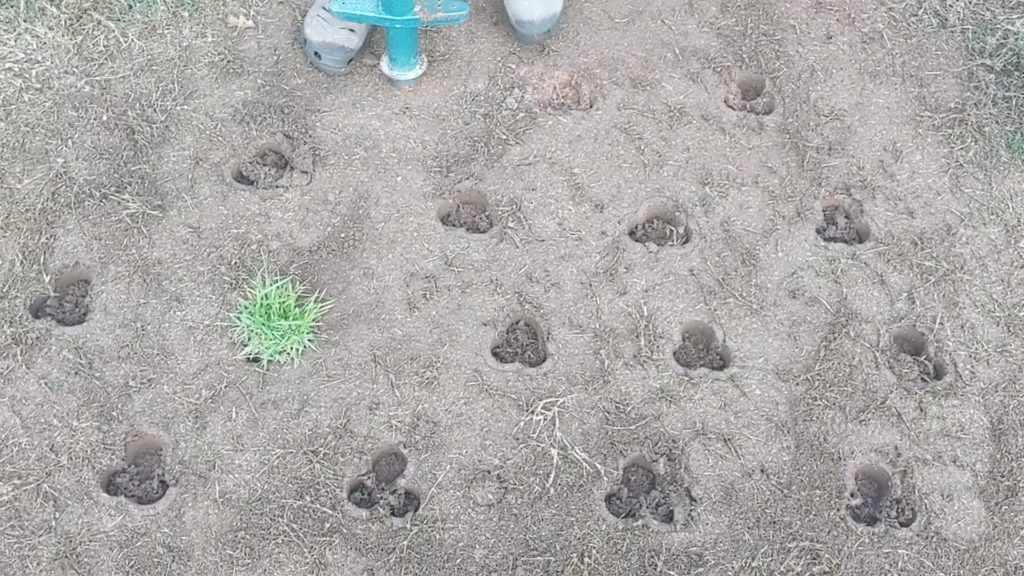
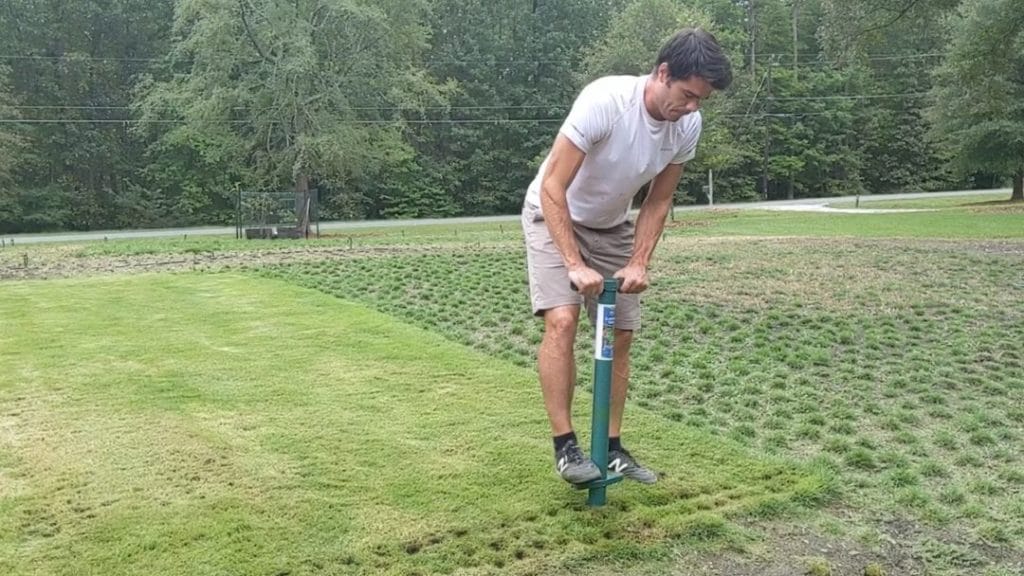
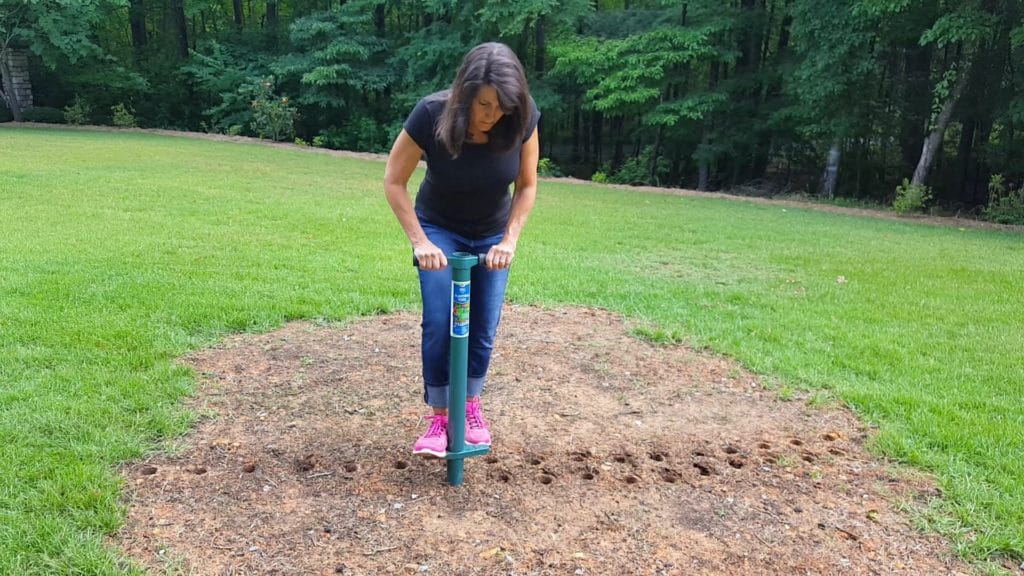
Step 3: Take plugs out of the planting area 6″ apart
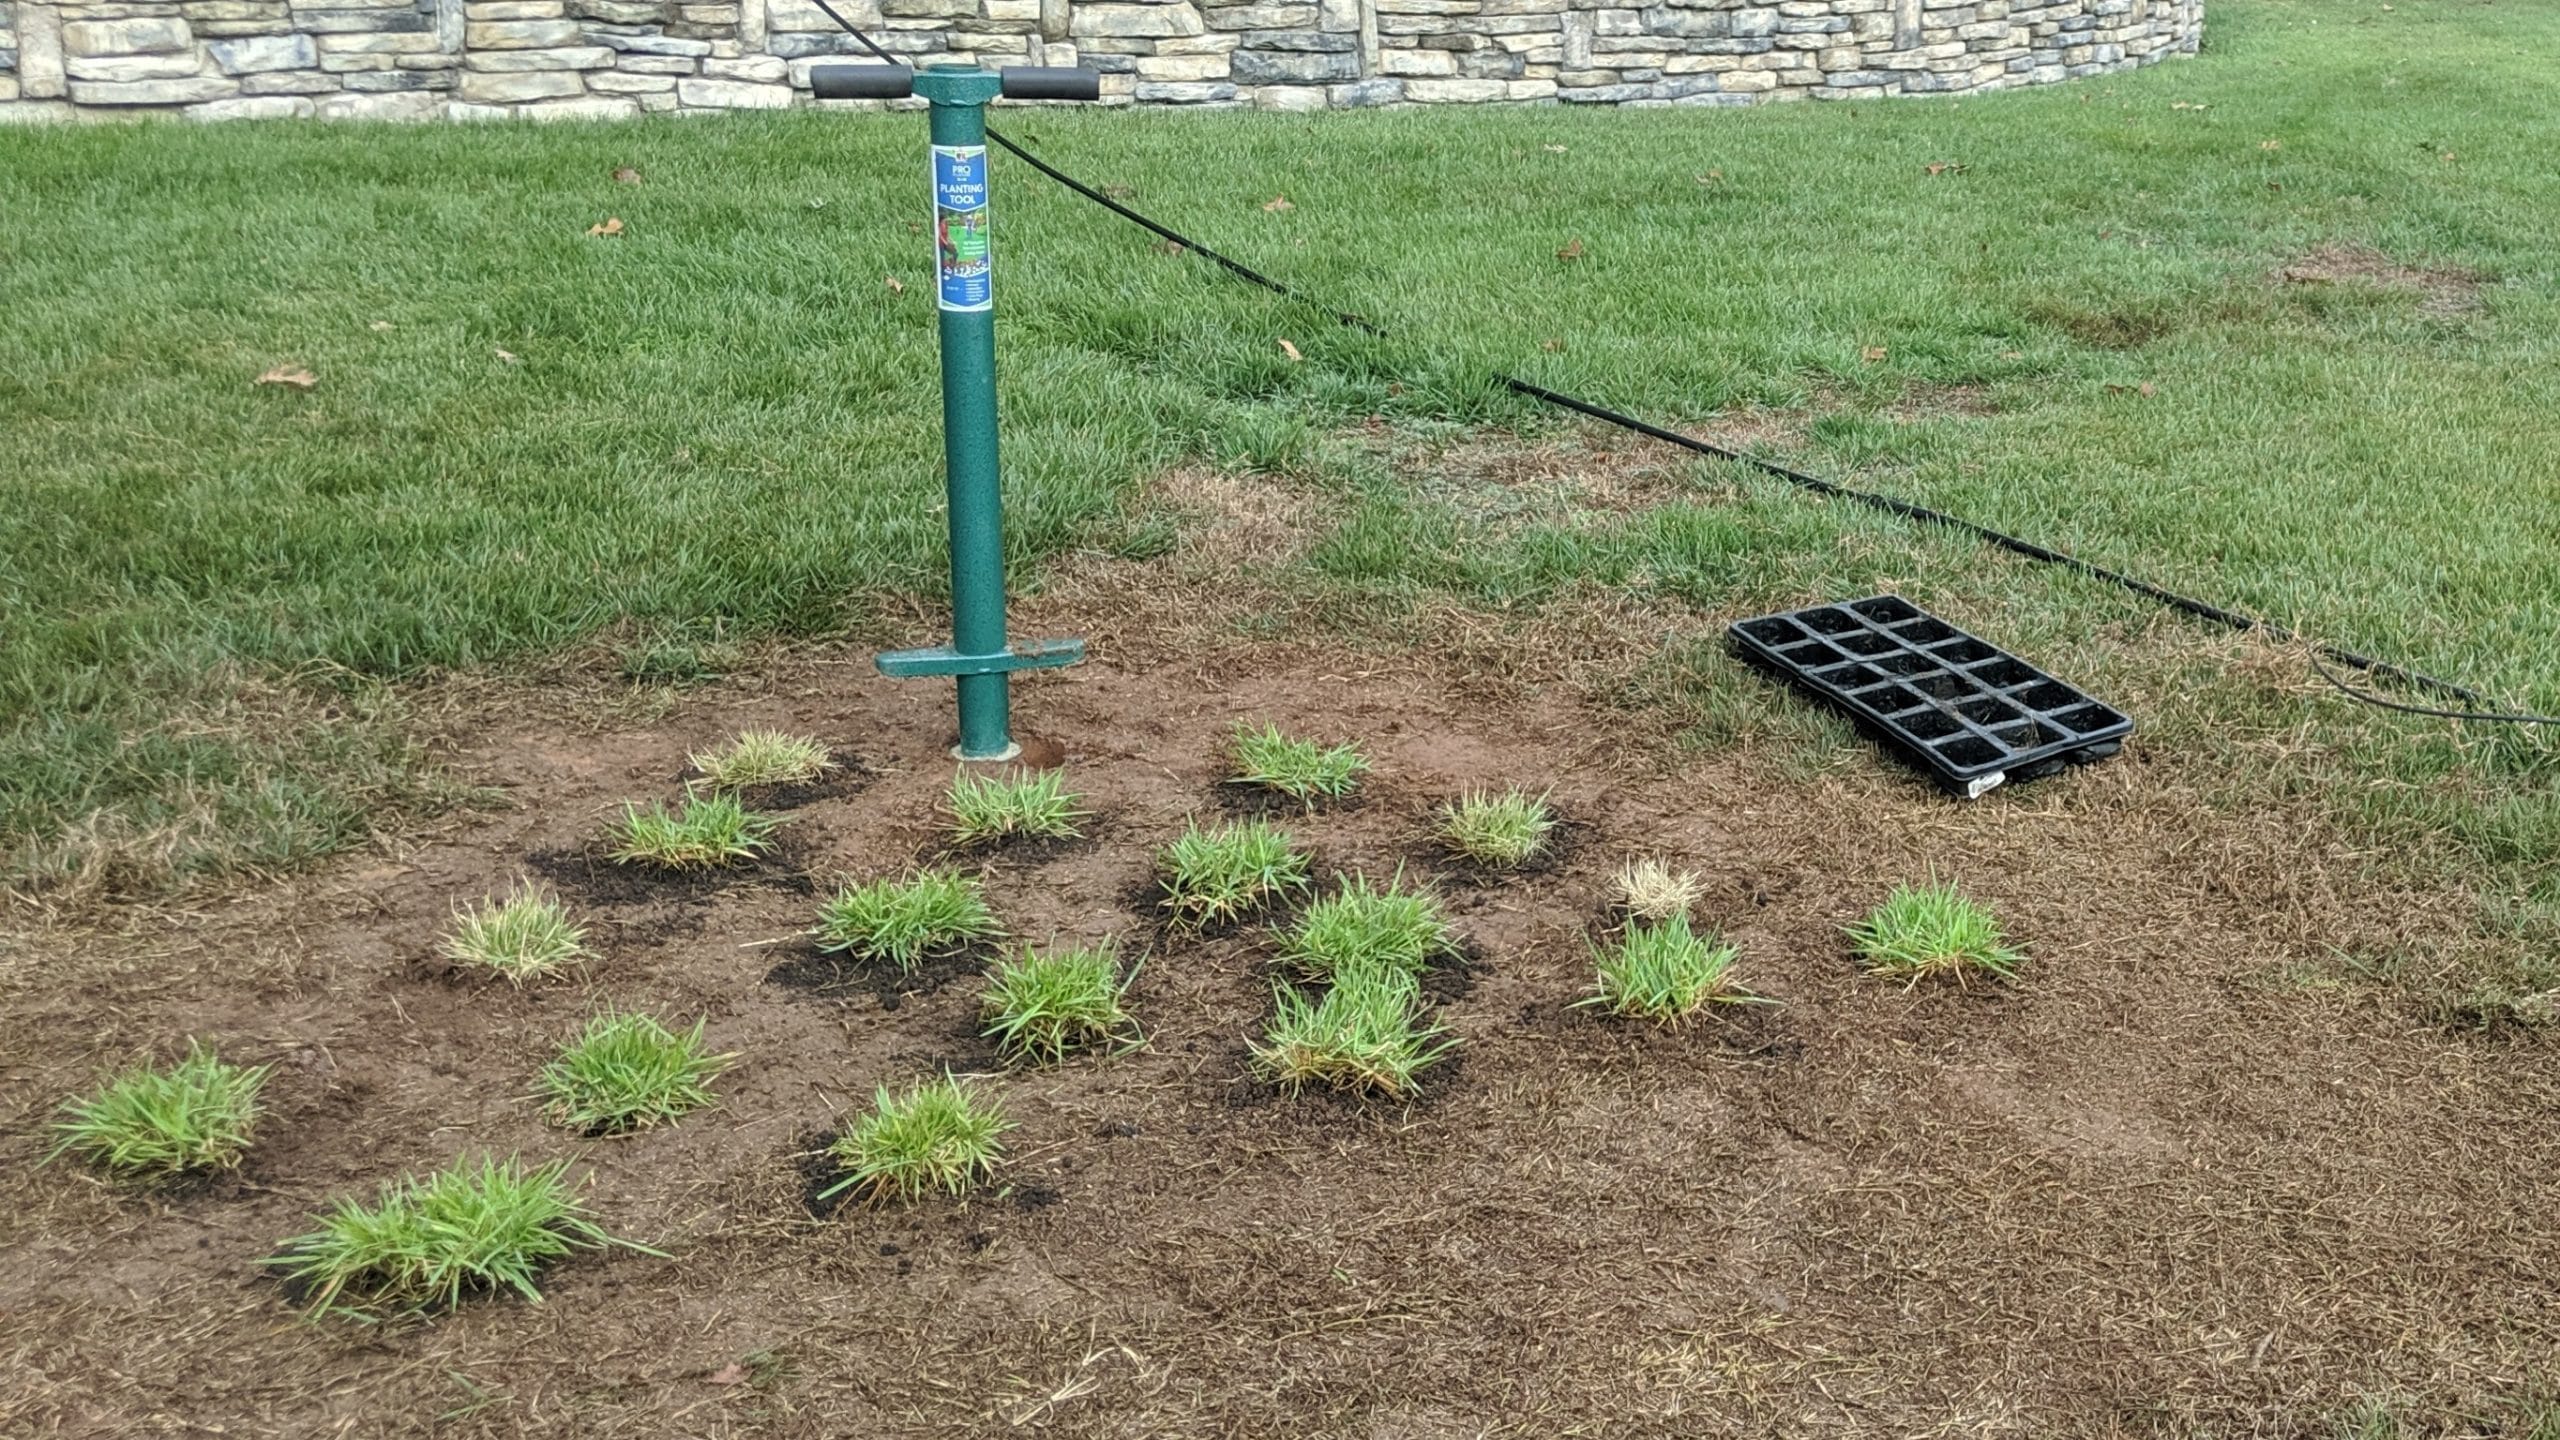
Smaller plugs (e.g. 1.75″ x 1.75″) will fit into the holes dug by the ProPlugger
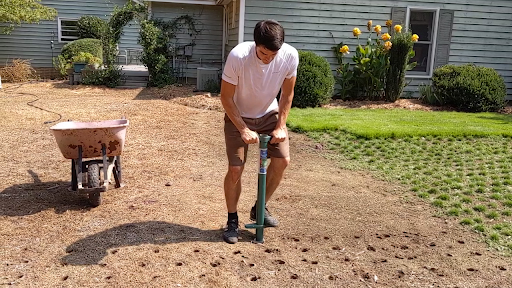
Larger plugs (e.g. 3″ x 3″) require you to dig 3 holes in a triangle pattern
- Use the 2″ depth ring to dig your holes
Step 3: Plant the grass plugs
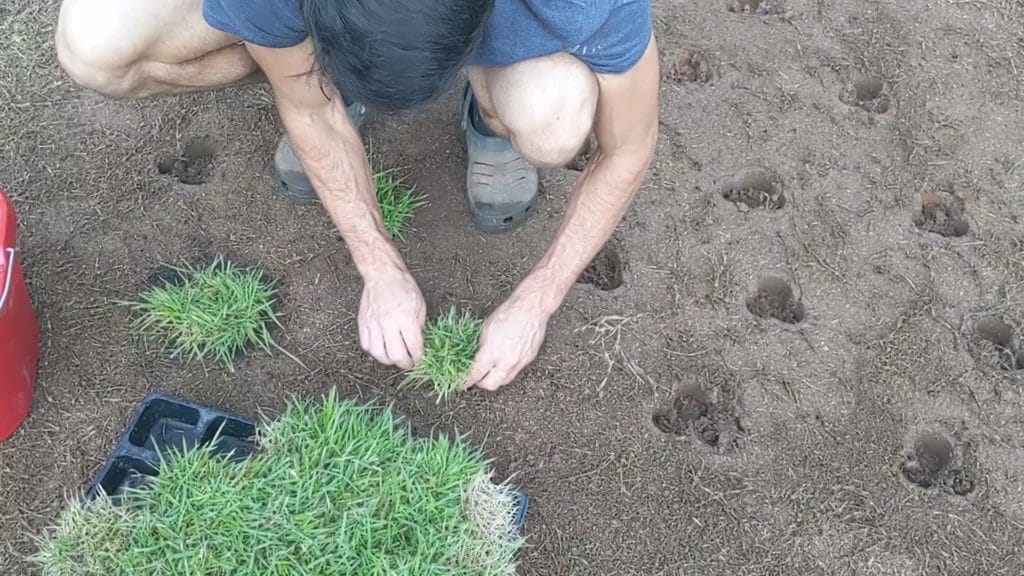
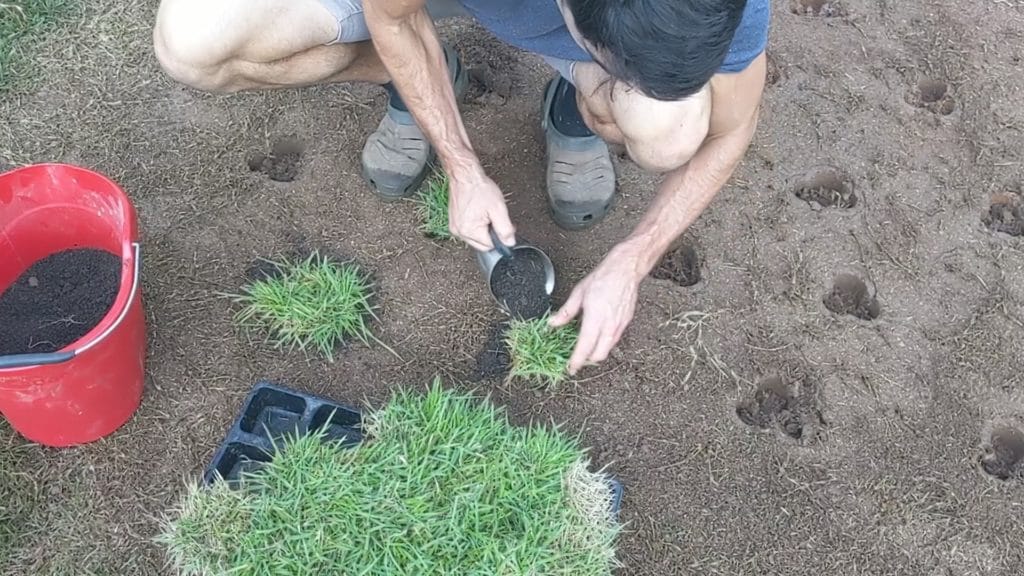
- Add soil around the plugs
Step 4: Water the grass plugs
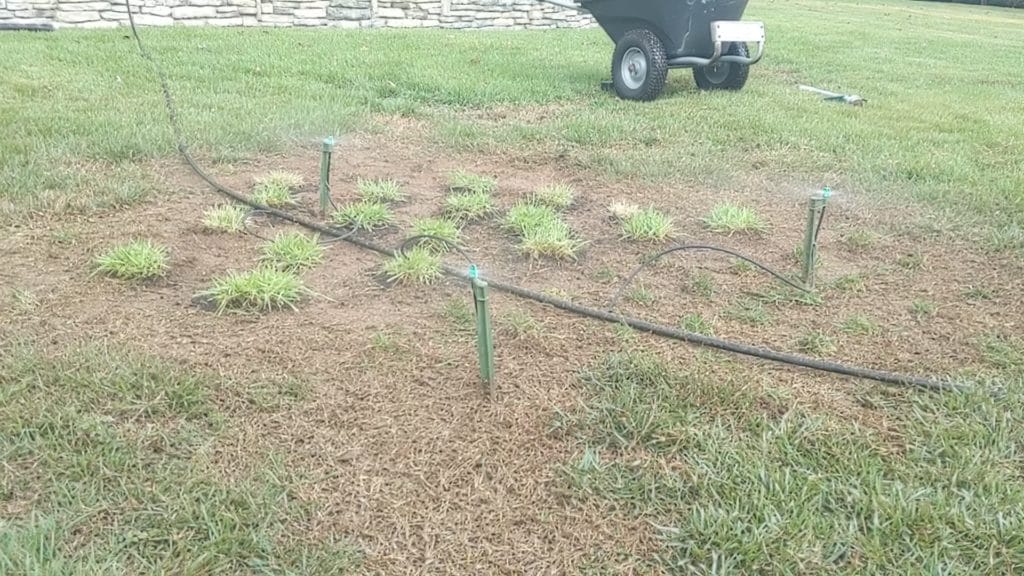
- Water the new plugs just like new sod
- You have to customize how often you water based on your climate and soil type
- The links below show you how
- Use highly adjustable sprinklers like this one
- In the picture above I’m using micro sprinklers attached to drip line irrigation, but a good adjustable sprinklers could have watered even very small areas like these without much over spray
- Use water timers
- They can be a bit tricky to learn at first, but once you get the hang of it they can save you a lot of time
Step 5: Watch them grow
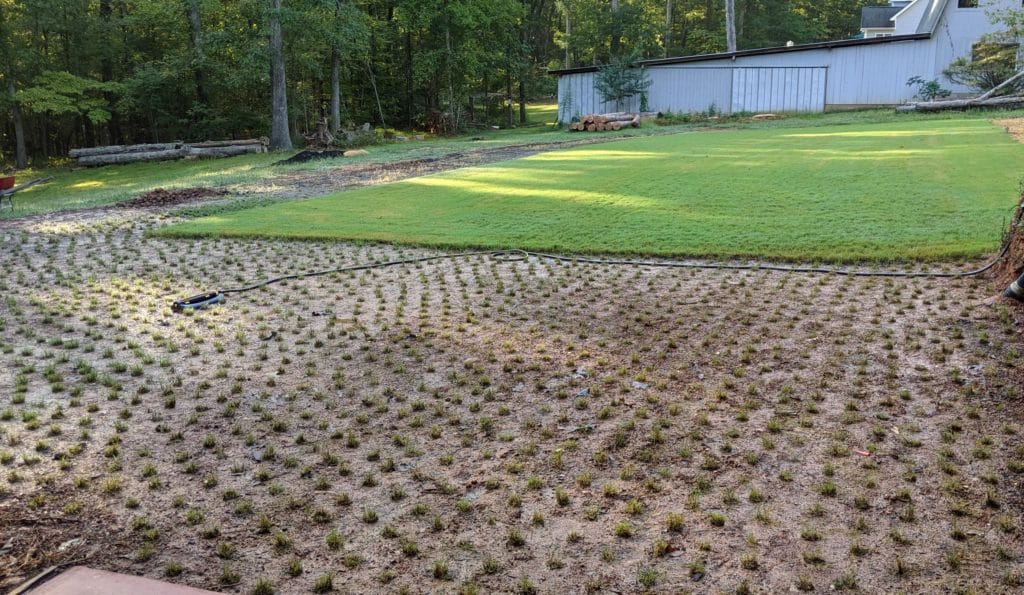
- Plugs planted 6″ apart usually fill in within 1 year though it may take 2
- Optimal growth is encouraged when…
- Plugs are watered well during the 1st month of growth
- Maintained on normal watering recommendations thereafter (e.g. 1″ once a week)
- Overgrowth of weeds is prevented
- Optimal growth is encouraged when…
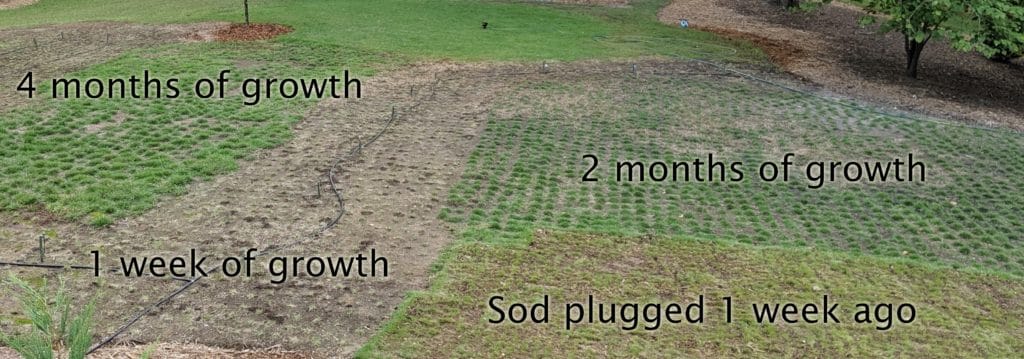
- The picture above shows the growth of Emerald Zoysia plugs that have been taken from sod
- Plugs planted from trays should do just as well
For additional information including weed control and more detailed watering instructions follow this link

